Posted on Leave a comment

Delicious Homemade Apricot Cobbler Recipe

Apricot Cobbler

There’s nothing quite like a warm, fresh-baked apricot cobbler to bring the flavors of summer to your table. Apricots are perfect for cobblers because their natural sweetness and slight tang contrast with the soft, buttery crust. Whether you have fresh apricots from the farmers’ market or canned apricots in your pantry, this recipe will satisfy your craving for a simple, comforting dessert.

Why You'll Love This Recipe:

  • Quick and Easy: You don’t need to be an experienced baker to make this.
  • Sweet & Tangy: The juicy apricots paired with a tender, buttery crust are an unbeatable combination.
  • Perfect for Any Occasion: Great for a weeknight treat or as a crowd-pleaser at a dinner party.

Let’s get into it!

Ingredients

For the Apricot Filling:

  • 5 cups fresh apricots (about 10-12 medium apricots), pitted and sliced (or use two cans of apricots, drained)
  • 1/2 cup granulated sugar (adjust depending on the sweetness of apricots)
  • 1 tbsp lemon juice (optional for extra tartness)
  • 1 tbsp cornstarch (for thickening)
  • 1 tsp vanilla extract
  • 1/2 tsp cinnamon (optional for extra warmth)

For the Cobbler Topping:

  • 1 cup all-purpose flour
  • 1/4 cup granulated sugar
  • 1/4 cup brown sugar
  • 1 1/2 tsp baking powder
  • 1/4 tsp salt
  • 6 tbsp cold unsalted butter, cut into small cubes
  • 1/2 cup whole milk
  • 1/2 tsp vanilla extract
  • A pinch of cinnamon or nutmeg for sprinkling on top (optional)

Instructions

Step 1: Preheat the Oven

Preheat your oven to 375°F (190°C) and grease an 8×8-inch or similar-sized baking dish.

Step 2: Prepare the Apricot Filling

  • In a large bowl, toss the sliced apricots with sugar, lemon juice, cornstarch, vanilla extract, and cinnamon. The cornstarch helps thicken the fruit juices as the cobbler bakes, creating a perfect filling.
  • Pour the apricot mixture into the prepared baking dish and spread it out evenly.

Step 3: Make the Cobbler Topping

  • In another bowl, whisk together the flour, granulated sugar, brown sugar, baking powder, and salt.
  • Add the cold butter cubes to the dry mixture. Using a pastry cutter, fork, or your fingertips, cut the butter into the flour until the mixture resembles coarse crumbs (similar to making pie dough).
  • Stir in the milk and vanilla extract just until combined. The dough should be thick and spoonable.

Step 4: Assemble the Cobbler

  • Drop spoonfuls of the cobbler topping over the apricot mixture. You don't need to cover the fruit entirely; it’s nice to leave some gaps for the juices to bubble up.
  • Optional: Sprinkle a pinch of cinnamon or nutmeg over the top of the dough for extra flavor.

Step 5: Bake the Cobbler

  • Bake for 35-40 minutes, or until the topping is golden brown and the apricot filling is bubbling. You may need to cover the cobbler with foil for the last 10 minutes to prevent over-browning.
  • Remove from the oven and let it cool for 10-15 minutes. This allows the filling to set.

Step 6: Serve

Serve the apricot cobbler warm with a scoop of vanilla ice cream or a dollop of whipped cream for an extra indulgent treat!

Tips and Variations:

  • Frozen or Canned Apricots: If fresh apricots aren’t available, you can substitute frozen or canned apricots. If using canned, make sure to drain them well.
  • Other Fruits: This cobbler recipe works well with other fruits too! Try peaches, plums, or even a mix of berries.
  • Make Ahead: You can prepare the filling ahead of time and store it in the fridge for up to 24 hours before baking.

Final Thoughts:

Apricot cobbler is one of those classic desserts that’s both nostalgic and incredibly satisfying. The juicy, sweet-tart apricots combined with a tender, buttery crust make it irresistible. Plus, it’s simple enough for beginner bakers while still delivering that homemade, comforting vibe. Give this recipe a try the next time you’re in the mood for something special!

More Articles:

Best French Vanilla Flavored Decaf Coffee

Best Gold Grade Wagyu Brisket 20+ lb.

Best Quick Mill Andreja Premium EVO

Best Gingerbread Flavored Decaf Coffee

MasterClass Massimo Bottura
Posted on

Perfect Oven Chicken Wings

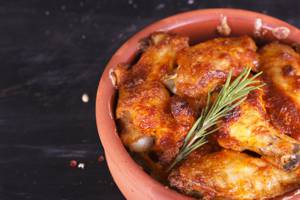
baked chicken wings

Each chicken wing is well seasoned with just the right amount of salt and pepper, so the dipping sauce is optional. Once you’ve mastered the technique you can switch out the sauce and make baked buffalo wings served with a side of ranch. Just make sure to keep this recipe on hand for a game day or other family get-togethers. Once you make your first batch I expect you will enjoy the results without all the excess frying oil.

Are chicken wings crispy in the oven?

The secret to making baked chicken wings crispy is drying as much moisture as possible from the skin, then lightly dusting it with baking powder, and cooking at high heat. Moisture on the surface of the chicken will create steam, which makes the skin soggy instead of crisp.Oven roasted chicken wings
By drying the skin thoroughly with paper towels eliminates the time it would require for the oven to dry off the moisture. A small amount of baking soda in the baking powder accelerates browning and creates bubbles that harden on the skin to enhance the crispy texture you desire.

High temperatures

The task here is to create a deep-fried like skin using consistent high oven temperatures. Baking at 450 degrees kick starts browning and cooking immediately. Placement on top of a greased wire rack ensures that the heat surrounds all sides of the chicken and that excess fat can drip to the pan and not make the chicken feel greasy. Make sure to flip the wings two times to ensure even cooking and heat dispersion.

Oven Baked Chicken Wings

Ingredients

  • 3 lbs Chicken Wing

Chicken Wing Rub

  • 2 Tbsp kosher salt
  • 2 Tbsp paprika
  • 2 Tbsp garlic powder
  • 2 Tbsp onion powder
  • 2 tsp black pepper
  • ½ tsp cayenne
  • 8 Tbsp butter melted

Tangy Yogurt Dip

  • 2 Tbsp white vinegar
  • 2 Tbsp lemon juice
  • 1 Tbsp reserved dry rub
  • ¾ c plain Greek yogurt
  • ¼ c sour cream
  • ¼ tsp cayenne
  • ½ tsp kosher salt

Instructions

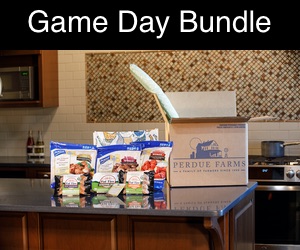
  • perdue-farms-tailgating-bundle-kitchenMix all dry rub ingredients except butter. Reserve 1 Tbsp of dry rub for the dip.
  • Pour dry rub over wings and mix well.
  • Place wings skin-side up on wire rack and refrigerate uncovered for one hour or overnight. You can skip this step and go straight to the oven, but that hour in the fridge really helps with crispiness!
  • Preheat oven to 425°F. Melt butter and brush gently over wings.
  • Bake wings in the oven. After 25 minutes, carefully open the oven just enough to let some steam vent. Cook for 20 more minutes, or until the skin is crispy, and the meat thermometer inserted into the thickest part of the chicken wing — without touching bone — reads 165°F.
  • Mix all dip ingredients. This can be done a day or two in advance for maximum flavor.
  • Enjoy the best wings ever!
  • Chicken is done when internal temperature reaches 165°F, followed by a 3-minute rest. Cook time will depend on the cut size and cooking method.

Comment Below.

More Articles:

Miso Soup

Espresso Machines Summer Specials JURA A9 P.E.P.

Peaberry Coffee Discount offering

El Paso and Socorro listings in 79927


MasterClass Massimo Bottura
Posted on

Things You Must Know Before You Buy Live Maine Lobsters

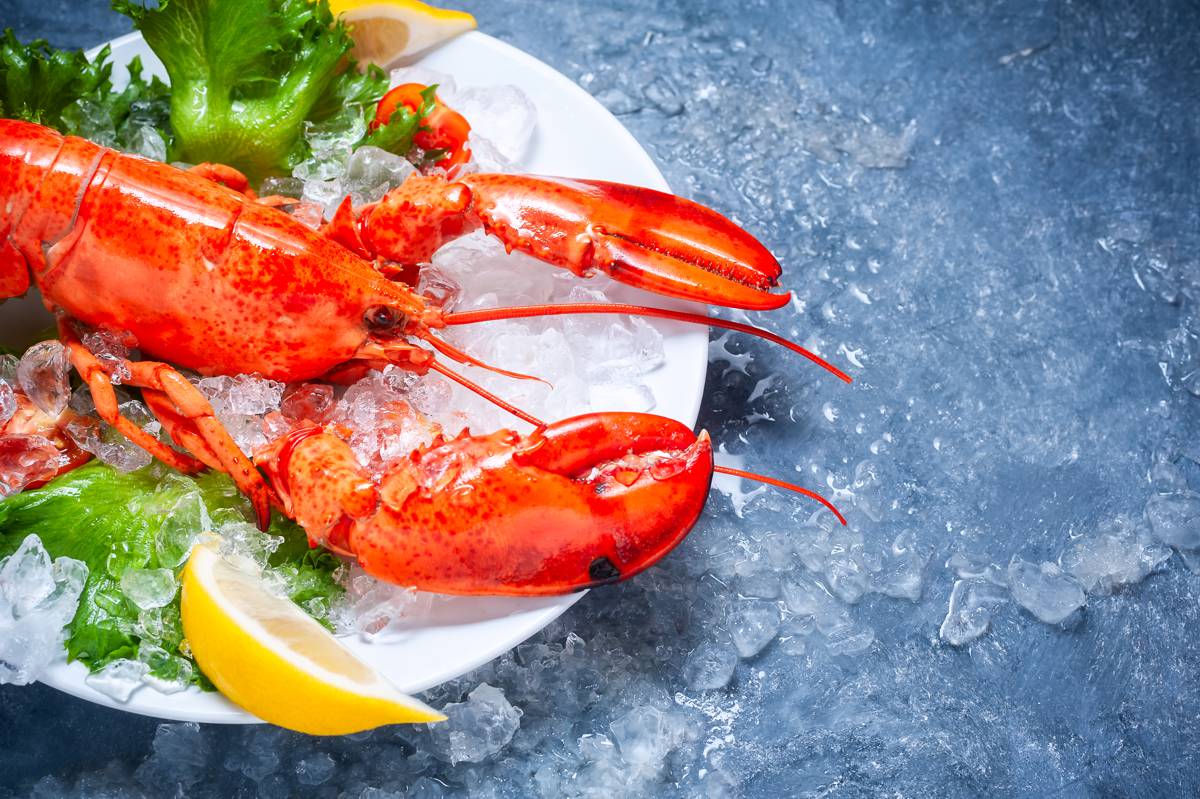
whole maine lobster with tomato slices lemon

Not all lobsters are created equal

maine lobster giftEvery company online claims to sell live Maine lobsters, but the truth is that most lobster comes from all over New England, and even some from Canada. Lobsters are shellfish, which filter water and therefore their taste is dependant on water temperature and quality. The colder, and cleaner the water, the better the lobster. It is recommended to purchase lobster form a source in Maine, New Hampshire or Canada, where the water is cold.

Know what you're paying for. Shipping or Lobsters?

If you try to compare the prices of lobster online one of the first things you'll notice is that the prices are all over the place. Some retailers include shipping, some retailers charge a flat rate, and some charge the actual shipping cost. This can make it incredibly confusing when trying to find the best prices. To find the best price, you should calculate the price of two chicken lobsters (1.0 – 1.25 pound) with shipping. This can be hard because many sites like to hide their shipping cost until you're just about to finish the order!maine lobster shipped free

 Lobster price and quality can differ throughout the year

New England weather and the life cycle of a lobster cause the price and quality of live Maine lobster to be quite different throughout the calendar year. In the winter months, especially January, February and March, the cold weather in New England hinders fishermen's ability to catch a large quantity of lobster. As a result, the price is extremely high during those months. The price is the lowest in the late summer and early fall when fishing is easier and the lobsters are plentiful. A lobster also molts its shell, causing the shell to be harder and softer at different times of the year. Lobster shells are the hardest in the spring. Fresh knuckle and claw lobster meat

Check the stores return policy because lobsters can die!

Make sure to check the return policy before you place your order. Lobsters are shipped life, and while they don't often die, it does happen. Make sure that you can get your money back if this happens. Some websites only refund the lobster prices and not the shipping. You may even want to call and ask what the refund policy is before you place your order.

Find out how the lobsters will be shipped

Shipping is a large percentage of the overall live lobster purchase. Make sure the store you buy from uses a reputable carrier. In our experience, FedEx is far more reliable than UPS or DHL. Their customer service and ability to deliver on time is far superior to any other carrier. Some stores even contract with a shipping logistics company to ensure that your packages are routed to their destination in the most efficient way. This is extremely important when purchasing anything that is alive and perishable.

Final Thoughts

lobster anywhereIn conclusion, buying lobsters online can be a large investment, so make sure you're using the best company possible. Unlike non-perishable merchandise, the manner in which lobsters are caught, handled and shipped can have a huge impact on the quality. If you make sure to follow these guild lines, you should have a great experience with live Maine lobsters.
Comment Below.

More Articles:

Triangular Large Micro GeoMetrix Table Top Display Review

Multifunctional Adjustable X Banner Stands Review

Adjustable X Banner Stands Review

MasterClass Massimo Bottura
Posted on 1 Comment

HOW TO GRILL BRISKET, WHOLE CHICKENS (without a smoker)

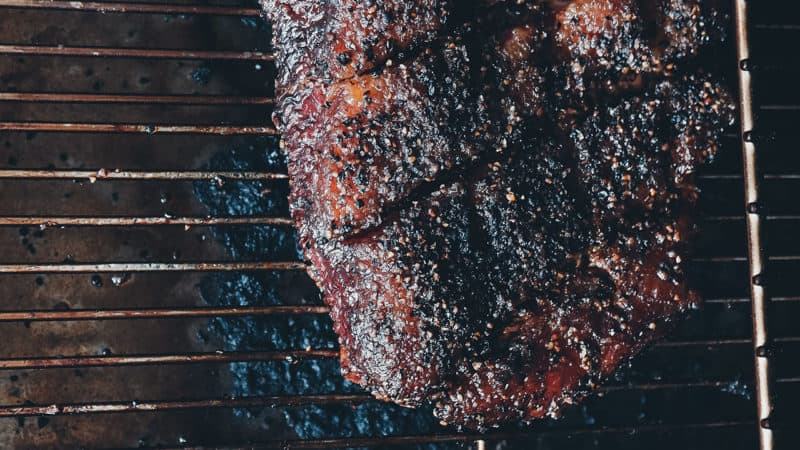
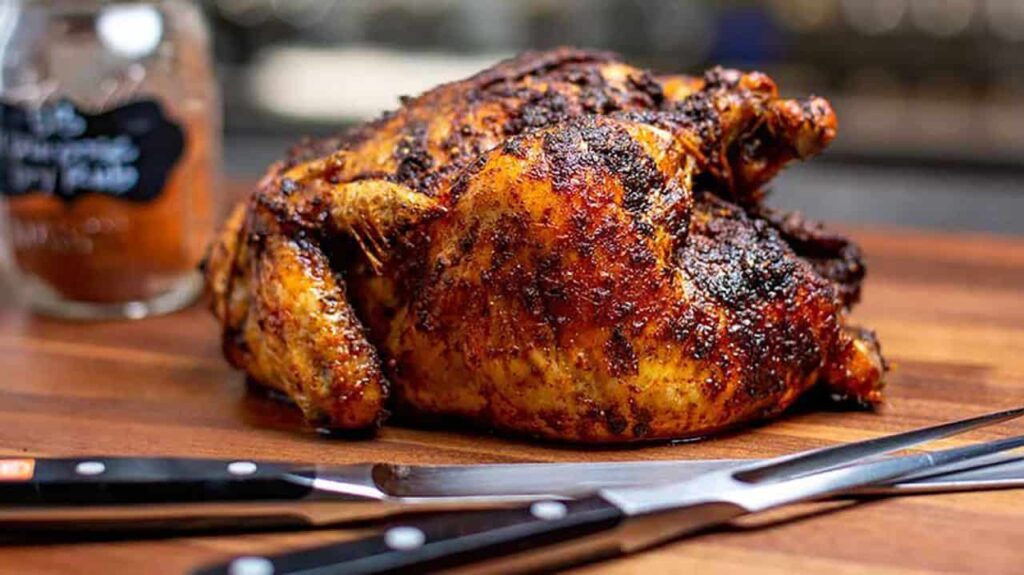
Grilled Meat From ButcherBox

If you’re cooking a large cut of meat—like a whole chicken, or a prime rib, maybe—you’re probably gonna head straight to the oven and start roasting.

Today, though, we’d like to inspire you to get a little adventurous and go outside and grill those bigger cuts.

Large cuts of meat are easy when grilled correctly. If you’ve got the time to grill a roast, it is time well-spent.

Learn the technique with your grill to avoid burning too hot and ruining your meal. Read on for a quick guide on how to start cooking large cuts on the grill.

Why Grill Large Cuts?

When it comes to grilling large cuts—like roasts, whole birds, brisket, and pork butt, you can think of your grill as an oven that won’t heat up the house, with the added benefit of being able to add some smoky or charred flavor.

You may have shied away from cooking large cuts on the grill for fear of burning them, but done properly, a whole chicken or pork butt will grill up beautifully. All you’ll need to do is create heat zones—hot for searing, and indirect, low heat for slow roasting. This works on both charcoal and gas grills.

Plus, grilling large cuts allows you to cook for a crowd, without steaming up a crowded kitchen. It’s ideal (and delicious!) for any type of gathering.

The Best Large Cuts for the Grill

If it’s a bird, roast, or another large cut, you can probably find a way to successfully grill it. There are some tried and true methods for specific cuts, though. You can find easy-to-follow recipes for any of the following. Keep reading for some of our favorite recipes, too.

  • Whole chicken
  • Brisket
  • Tri-tip
  • Pork Butt
  • Ribs
  • Rack of lamb
  • Beef tenderloin
  • Sirloin cap
Grilled Meat From ButcherBox

How to Grill Large Cuts

There are a few universal rules for grilling large cuts of meat. Follow these, and you’ll be in for a perfectly charred, tender, and juicy meal.

1. Season your meat liberally (or marinate).

The first step to imparting bold flavor to your roast, whole chicken, or whatever it is you’re grilling up: Season liberally. A wet or dry rub works well on cuts like chicken or tri-tip. Marinades are also a great idea—you can even baste meat directly with saucy marinades.

For some cuts, you can build in even more flavor with a rich sauce. Think barbecue sauce-lacquered ribs, or pulled pork, made from grilled pork butt.

2. Get your grill ready.

The most important step of cooking large cuts is properly preparing your grill. As mentioned earlier, you’ll need to set up a high heat zone for searing, and an indirect heat area for slow-roasting your meat.

With a gas grill, you’ll want to turn all your burners to medium-low to first sear the meat and lock in flavor. Then, turn off a burner to lower the heat. With a charcoal grill, create a cooler zone by pushing the hot coals to the other side of the grill.

You’ll be closing the lid for most of the large cut’s cook time. It’s almost like an oven, with lots of hot air circulating around the meat.

3. Sear the meat.

A sometimes overlooked step, searing your meat is a great opportunity to build a crust and lock in juices. It works the same for chicken as it does beef or pork— simply sear all sides of your large cut for a few minutes on high heat. Then, lower the heat and grill-roast.

4. Grill low and slow.

For most large cuts, the low and slow approach will yield the juiciest, most tender results. For a whole chicken, you might expect the cooking time to hover around 45 minutes to an hour (even faster if you spatchcock it).

For something like a pork butt or brisket, it’s an all-day investment. Expect to spend four to six hours of low and slow grilling for these cuts.

5. Add wood chunks, if you’d like.

One of the great advantages of grilling outside—whether you’re using a gas grill or charcoal—is the opportunity to use wood chunks. While you’ll find wood chips more readily available, they might burn out too quickly before your large cut of meat is done cooking.

Wood chunks, on the other hand, will burn for hours.

Different types of wood chunks will impart different smoky flavor profiles. Here’s a quick breakdown:

  • Try fruity woods – like apple, peach, or cherry for lighter fare like poultry or fish.
  • Stronger woods – like hickory, maple, or pecan deliver bold smoky flavor. They’re great for beef or pork.
  • Mesquite wood is the most intense. Use it sparingly with red meat.

6. Don’t lift the lid!

You may be tempted to peek in on your large cut of meat and see how it’s doing. But just like an oven, you’re wasting precious heat each time you do. Keep your checks to a minimum, like when you need to temp the meat to check for doneness.
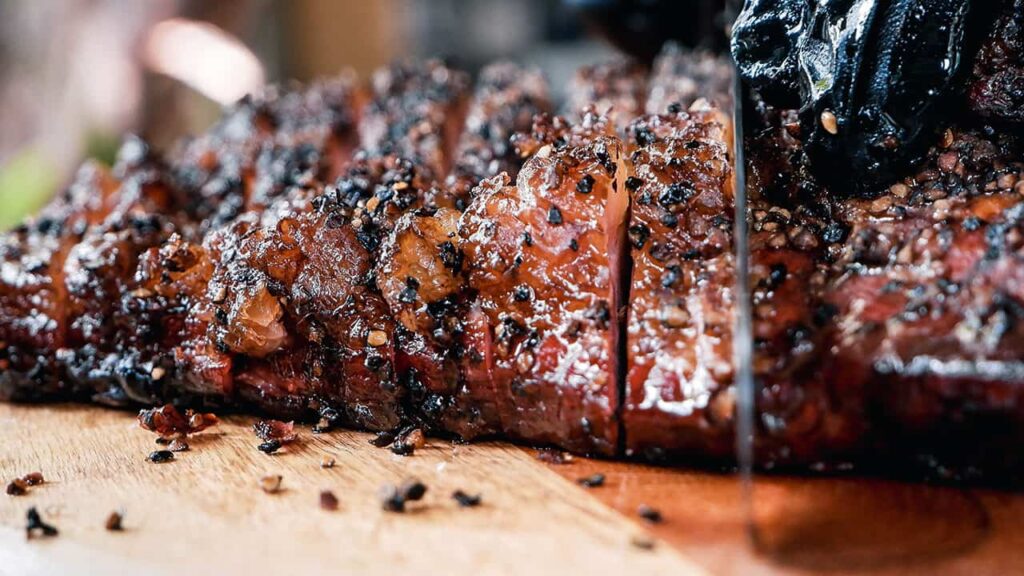
Grilled Meat From ButcherBox

Our Favorite Large Cut Recipes for the Grill

Ready to get outside and grill some large cuts? Fire up the grill and get started!

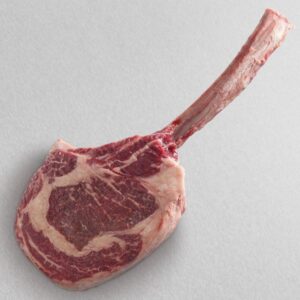
srf-black-american-wagyu-tomahawk-steakThe tomahawk is sourced from the rib primal which covers ribs six through twelve and is located between the chuck and loin primals. A full ribeye, like the tomahawk, has three major muscles. The longissimus dorsi, or large center eye, the complexus, a smaller side muscle which is not always present depending on where the steak is cut, and the spinalis dorsi, also called the cap of ribeye or deckle. The cap is universally known as the single most flavorful and tender cut. The muscles of the ribeye are held together with tender sinew with large swaths of rich fat between them.

Fast fact: The bone in a bone-in steak doesn’t add a significant amount of flavor, but it does insulate the meat next to it and adds a small section of steak that is more rare than the rest of the steak. A bonus many of our customers enjoy.
Description
The Snake River Farms tomahawk is thick and is rich with a high level of intramuscular fat or marbling. Each steak is cut to accommodate the width of the rib bone making it two inches or more.

More Articles:

Triangular Middle Micro GeoMetrix Table Top Display Review

Straight Pillow Case Backdrop Review

10 ft x 8 ft Backdrop Display Package Review

MasterClass Massimo Bottura